Reading Time: 5 minutes
*All links are no longer affiliate links!
For the Curious but in a hurry 🏃♂️💨
In this post, I’ll walk you through my personal experience hiking Guatemala’s famous active volcano — Acatenango 🌋. I’ve structured it as a one-stop shop for everything you need to know if you’re planning your own trip. My story is broken up by practical, easy-to-read subheadings, so you can follow along or skip ahead as needed using the table of contents below. If you’re really short on time or just after the basics, feel free to jump straight to the Rapid Fire FAQ section for a quick summary!
- Why I Chose to Hike Acatenango 🥾🌋
- When is the Best Time of Year to Hike? 📅🌋
- Choosing a Guide 🧭👥
- Essential Preparations: Gear and What to Leave Behind 🎒🧤
- Overview of the Hiking Schedule 🏔️⛺
- The Reality of the Hike: Difficulty and Accessibility 😮💨🥵
- Optional Extra Hikes (Fuego and Summit) 🌋🔥
- Altitude Sickness 😵💫🌬️
- Final Reflections on the Journey 🔁📝
- Rapid Fire FAQs About Acatenango ⚡❓
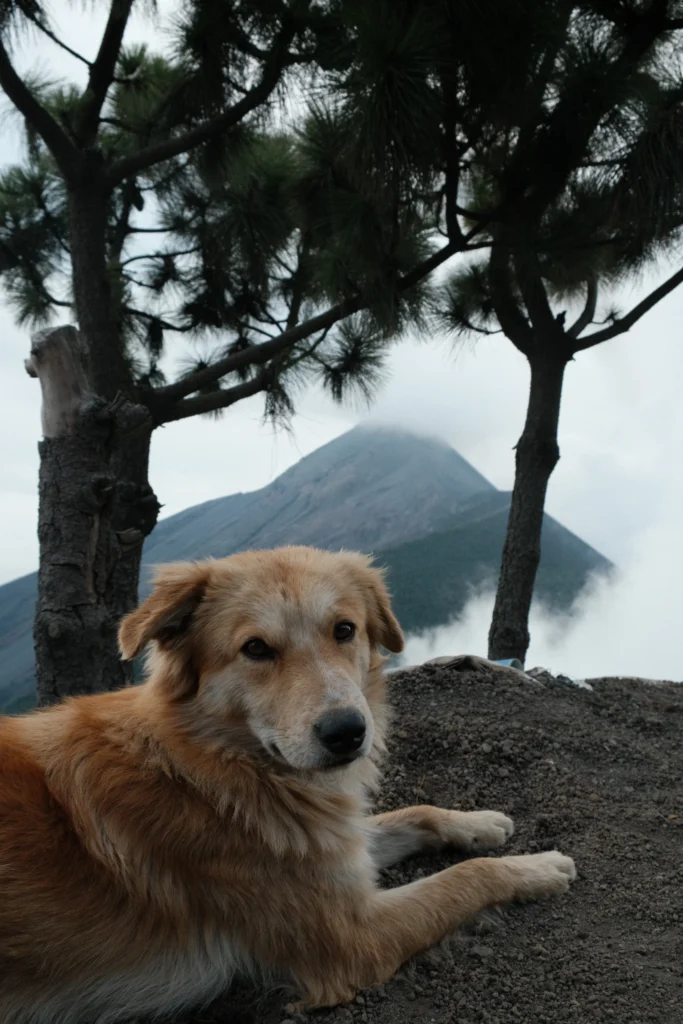
Why I Chose to Hike Acatenango 🥾🌋
This hike was the main reason I visited Guatemala. I also think around 90% of the other travellers I met had either done it or had it on their list. It felt like a rite of passage for anyone visiting Guatemala.
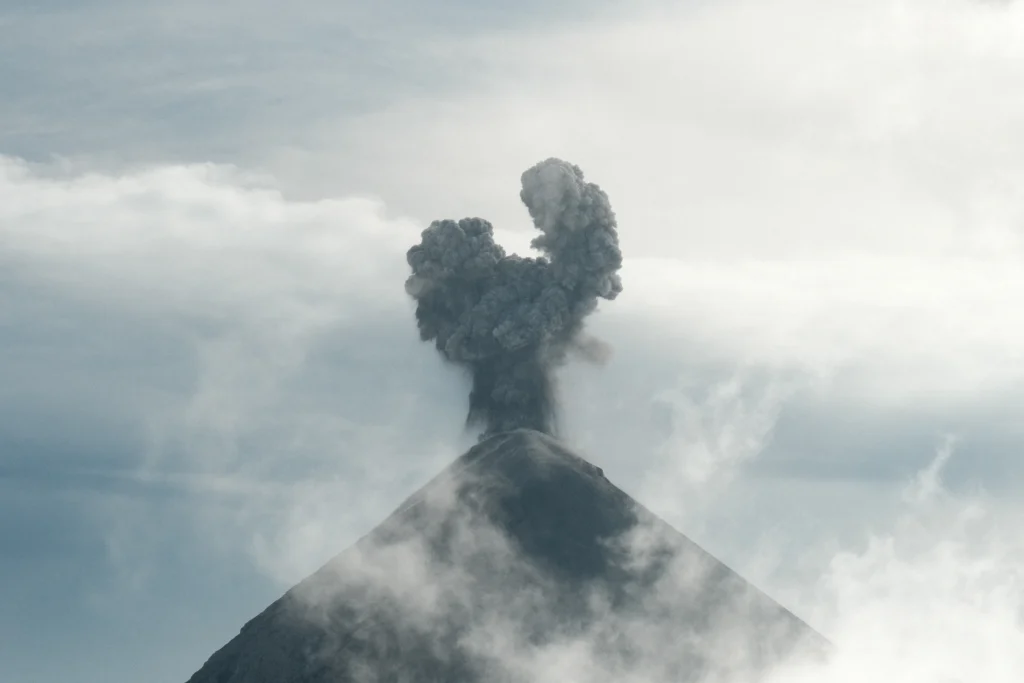
My journey began in Sydney, where I found myself scrolling through Central America content on TikTok. When I first saw clips of people standing above the clouds watching an active volcano erupt in front of them, I couldn’t believe it was real. Hiking to the top of a volcano with no experience? Surely not right???
So with minimal research, I crossed the border from Mexico into Guatemala (read my border crossing experience here), and my friends and I made our way down to Antigua. A traveller I met in Flores recommended a tour company, so we booked it. We were excited, slightly terrified, but committed.
But before I get into how it went, let’s talk timing — because when you go can seriously shape your experience.
When is the Best Time of Year to Hike? 📅🌋
I did the hike in early November, which is part of the transition season between wet and dry.
In Guatemala, there are really only two main seasons, each with their own pros and cons:
Dry Season (November to April)
- Pros: Clearer views of volcano eruptions, drier trails, easier hiking conditions, and more comfortable overnight camping.
- Cons: Busier trails, higher prices, and the need to book in advance.
Wet Season (May to October)
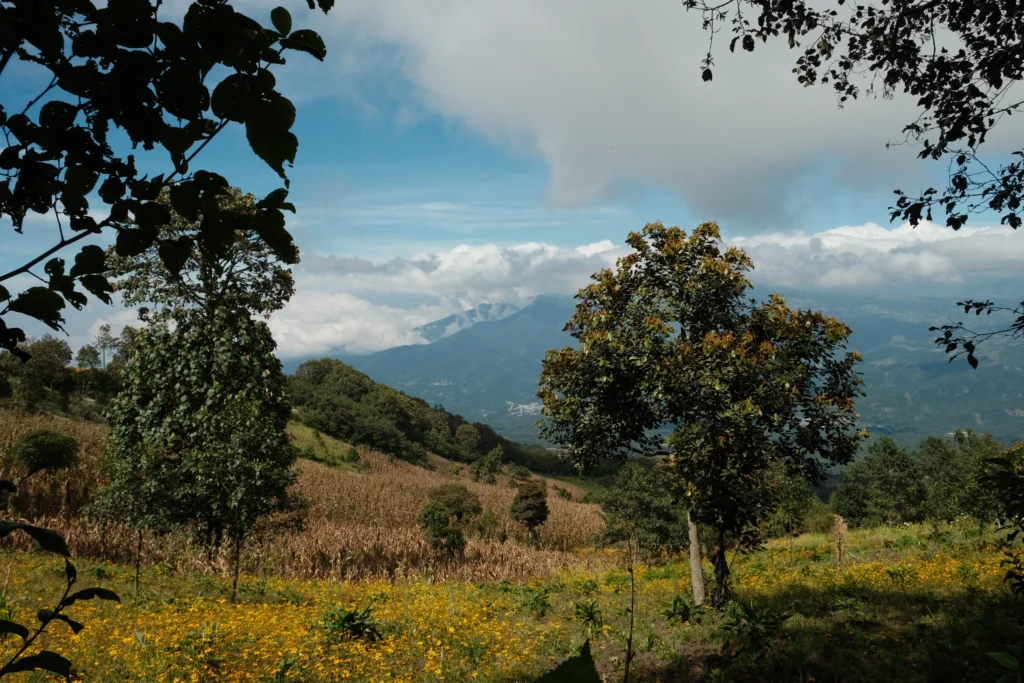
- Pros: Fewer crowds, cheaper tours, and greener, more vibrant scenery.
- Cons: Trails are muddier, weather conditions make hiking and camping harder, and views of the eruptions can be blocked by rain or clouds.
Choosing a Guide 🧭👥
Picking the right guide is an important decision you’ll make for this hike but it’s also not the end of the world if you choose the “wrong guide”. After speaking with other travellers who used various companies, I found that most tours offer very similar experiences in terms of route, food, and accommodation.
The real differences come down to:
- Cost
- Group size
- English-speaking guides
Personally, I recommend going with the cheapest option that has the smallest group size. We booked with Asoava for 450Q (around $90 AUD). They picked us up from the post office in Antigua and drove us in their private shuttle to their house at the foot of Acatenango. From there, they provided all meals, gear, and guidance.
Another tour group that I have heard good things of are Ox Expeditions. They offer a similar experience but have English-speaking guides which Asoava does not have.
Tours I would probably avoid are the big hostel tours such as Tropicana. I have no beef with them personally, but they are more expensive and their tour groups look crowded and too big.
Essential Preparations: Gear and What to Leave Behind 🎒🧤
I knew I wanted to do this hike before leaving for Central America, but I didn’t pack specifically for it, so my gear setup wasn’t “perfect” but I have no complaints and I got up and down the mountain in one piece!
Most guides offer different packages: you can hire a porter, ride a horse, or even take a 4WD most of the way up (which is kinda crazy to me). My friend and I debated whether to carry our own gear and decided to do it ourselves. That was definitely the better choice. I brought 4L of water (they recommend at least 3L), and my pack wasn’t too heavy.
I wore convertible hiking pants, a shirt for most of the way, and a tri-climate North Face jacket. I also brought thermal top and bottoms, and borrowed a fleece from my guide. We both borrowed walking sticks, but honestly, I regretted it. It felt helpful at first but messed with my gait and made me overly reliant. I stopped using it after base camp.
One thing I couldn’t find a clear answer on was footwear. It’s a tough hike, but the volcanic soil is soft. I actually did the whole thing in aqua shoes 💀.
And regarding what is included with the guide, this is directly from ASOAVA:
| What’s included | What you need to bring |
Transport to/from Antigua Entrance fee to the park 4 meals* (breakfast, lunch, dinner, breakfast) Jacket Mattress, blankets, sleeping bag, pillow (at camp already) 1L of water 1 glass of whiskey Marshmallows for the campfire Hot chocolate (this was absolutely fire 🔥) *with vegetarian and vegan options under request | Snacks Water (they provide 1L but you to take at least 2L more, 3L in total) Headlamp Extra clothes to change (I brought this but didn’t change…) Trekking shoes Gloves Hat Any medications you may need Toilet paper (thankfully I didn’t need this, the toilet at camp is gross) |
You can also rent the following items from ASOAVA (prices in local currency):
Headlamp Q20
Backpack Q30
Wooden sticks Q10
Professional sticks Q25
Hat Q10
Gloves Q10
Trekking shoes Q20
Links to the Gear I used on this Hike! (affiliate links)
My Pack: Osprey Farpoint 55 Travel Backpack
My Jacket: Tri-climate North Face
My Aqua Shoes that did surprisingly well: TECHAMPHIBIAN 5 Sport Sandals
Overview of the Hiking Schedule 🏔️⛺
We stayed at The Purpose Hostel in Antigua. While the hostel itself was great, the dorm was stuffy with poor air circulation, which made the early 6 AM wake-up a bit rough. I remember waking up feeling unwell and worried I might be too sick to hike. But after stepping outside and getting ready, I realised it was just nerves and the lack of fresh air in the room.
My friend and I checked out, walked to Antigua’s main post office, and met the other travellers joining our hike. From there, we made our way to ASOAVA’s house near the volcano.
ASOAVA is run by local families, which gave the morning a warm, homey vibe. They served us pancakes, fruit, and tea/coffee for breakfast. We stored our other bags safely upstairs, listened to a short briefing, then hopped on the bus around 8:30 AM.
The hike began at 9 AM. We reached base camp by 2 PM, then had the option to hike down and back to Fuego, getting closer to the lava. We went to bed at 10 PM and woke up at 4 AM to summit Acatenango.
After the sunrise summit, we returned to ASOAVA’s house by 10 AM and were dropped back in Antigua later that afternoon.
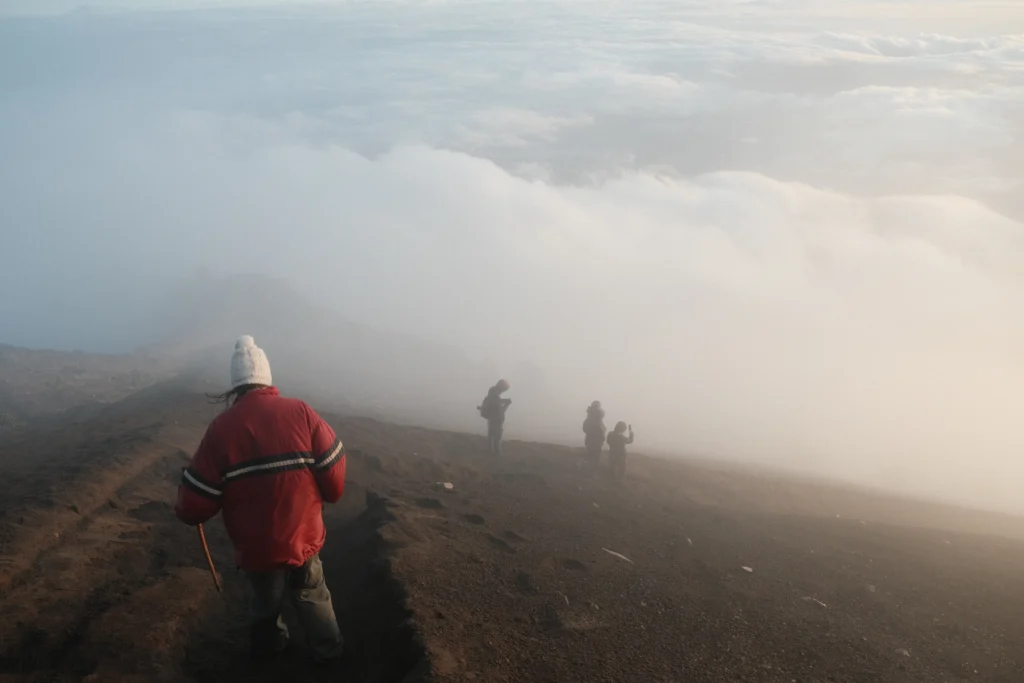
The Reality of the Hike: Difficulty and Accessibility 😮💨🥵
This is probably the most confusing and subjective question when researching Acatenango. Before our summit, I asked travellers coming from different ages and fitness levels how they found it. A big portion of them said it was either on the harder side of hikes they have done, or one of the hardest things they’d ever done.
That said, if you are discouraged by reading this I also believe that while it is insanely hard it is also absolutely doable.
For context, if you’ve read any of my other posts, you’ll know I’m a pretty active person. I’ve done zero technical ascents, but I’m an avid weekend hiker and enjoy challenging routes. Even so, Acatenango was without a doubt the hardest hike/thing I’ve ever done.
To help you be more informed on its difficulty, there are three specific factors that I will outline that make the ascent especially tough. Ironically, those same factors also make the descent one of the most pleasant hikes you can do.
1. Elevation Gain
The trail starts off steep and never really gives you a break. There are barely any flat sections to catch your breath. The first couple of hours are especially intense and can really test your mindset.
My friend, who runs regularly and has great cardio, said she would have quit halfway if I hadn’t been there encouraging her. Later that day, during the optional Fuego hike, I was just as grateful to have her with me. I genuinely would have dropped to my knees if she hadn’t been there pushing me to keep going.
The good news is that all this elevation works in your favour on the way down. The descent on day two felt so much easier and I could really appreciate the views coming down.
2. High Altitude
You start the hike at about 2,400 metres and summit close to 4,000 metres. The higher you go, the thinner the air becomes. Even if you’re fit, the altitude adds a level of difficulty that can take you by surprise.
I noticed a significant drop in my lung capacity early on. Breathing was harder and everything felt like I was moving in slow motion.
3. Volcanic Ash and Loose Terrain
Sections of the trail, especially near Fuego and the summit, are covered in loose volcanic gravel and fine ash. It feels like hiking in sand. When wet, some areas even felt like quicksand. It was frustrating to gain any traction.
But again, the descent turns this challenge into a plus. The soft terrain cushions your steps and you can almost ski down parts of the trail, which feels surprisingly fun after such a tough climb.
Optional Extra Hikes (Fuego and Summit) 🌋🔥
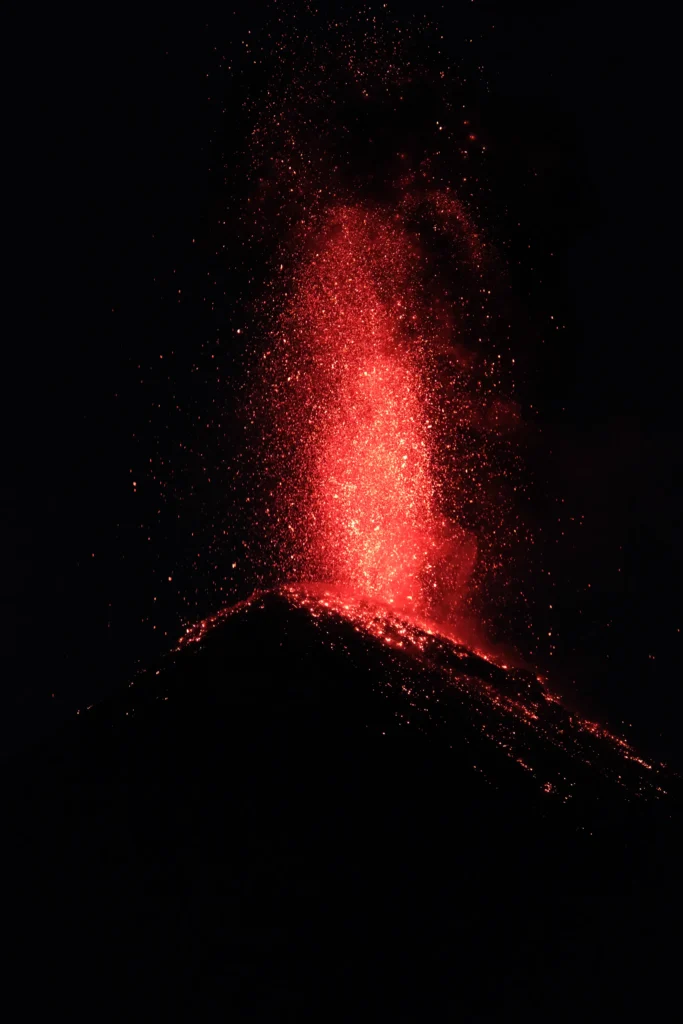
When you arrive at base camp on Acatenango, you’ll get an incredible view of the erupting Fuego volcano. It’s already stunning from a distance — but if you want to get even closer, you can opt for an additional 3 to 4 hour hike to Fuego.
With ASOAVA, this cost around 100Q extra. Personally, this was the hardest part of the entire experience for me. The hike starts with a mellow downhill section, but then turns into a steep incline with lots of loose rock as you approach Fuego. Once at the top, we only had about 10 to 15 minutes to admire the eruptions up close before needing to head back to base camp (a gruelling incline in the dark).
I chose to do this optional hike because I didn’t want to miss out on any potential views. But after reflecting, I’m not sure it was entirely worth it. The view from Acatenango is already pretty close, and skipping the extra hike would have meant more time to rest at base camp and enjoy the eruptions from a distance.
After returning from the Fuego hike, we had dinner and were in bed by 10 PM. At 3 AM, we woke up to begin the final push to the summit. My body felt completely wrecked (my legs were jelly, and I genuinely thought I wouldn’t make it). Our guide told us it would be a short and easy walk, which was a fat lie. But I’m glad he said it. The climb was tough, but the view from the summit made it all worth it.
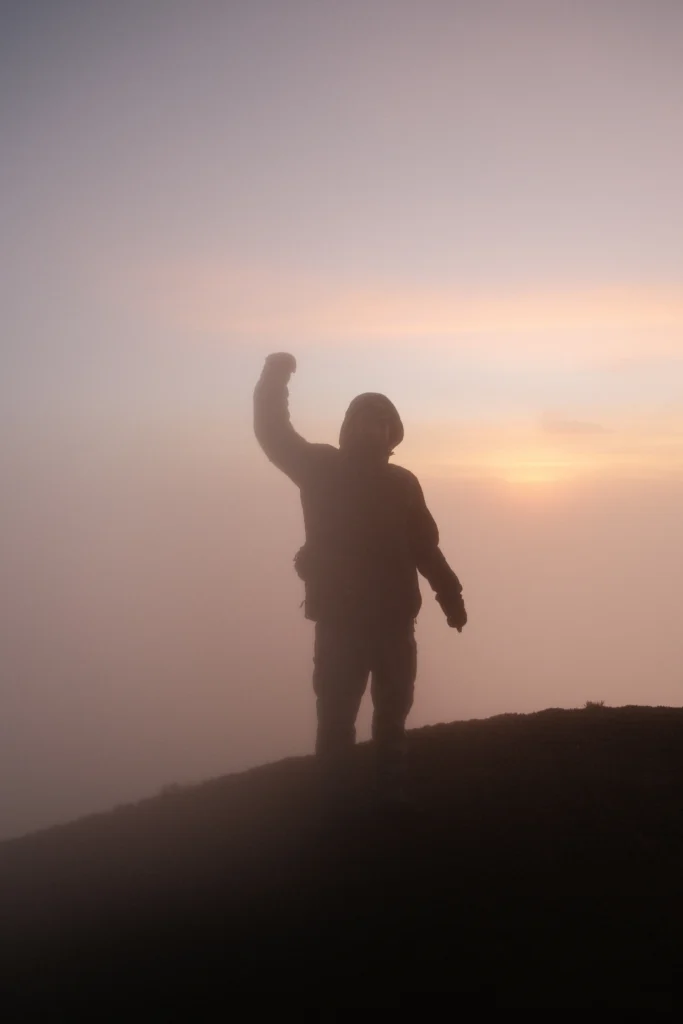
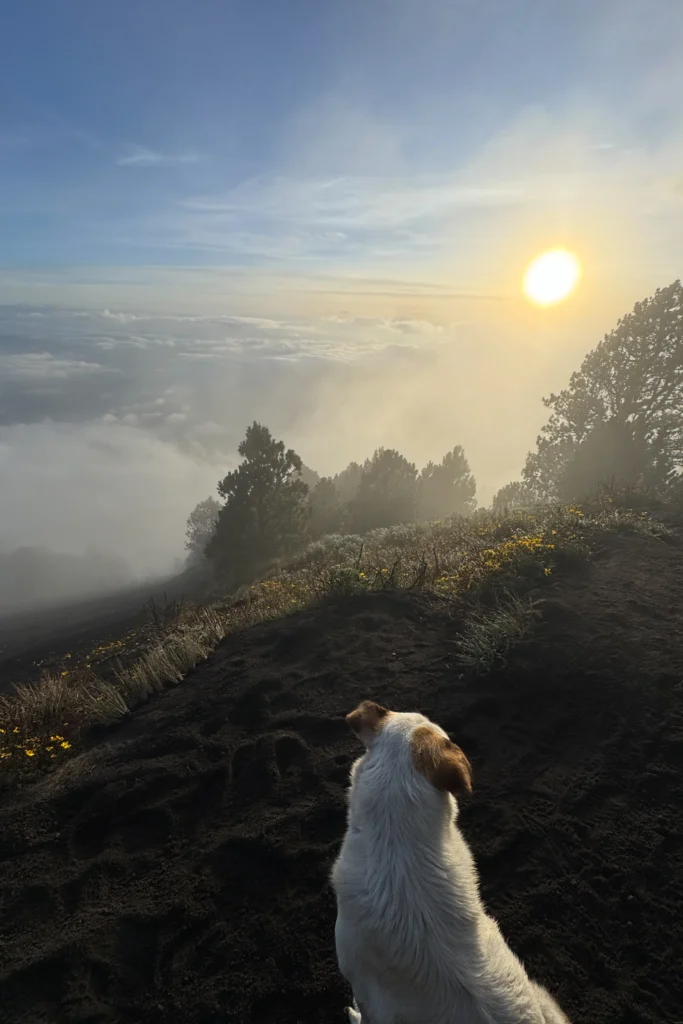
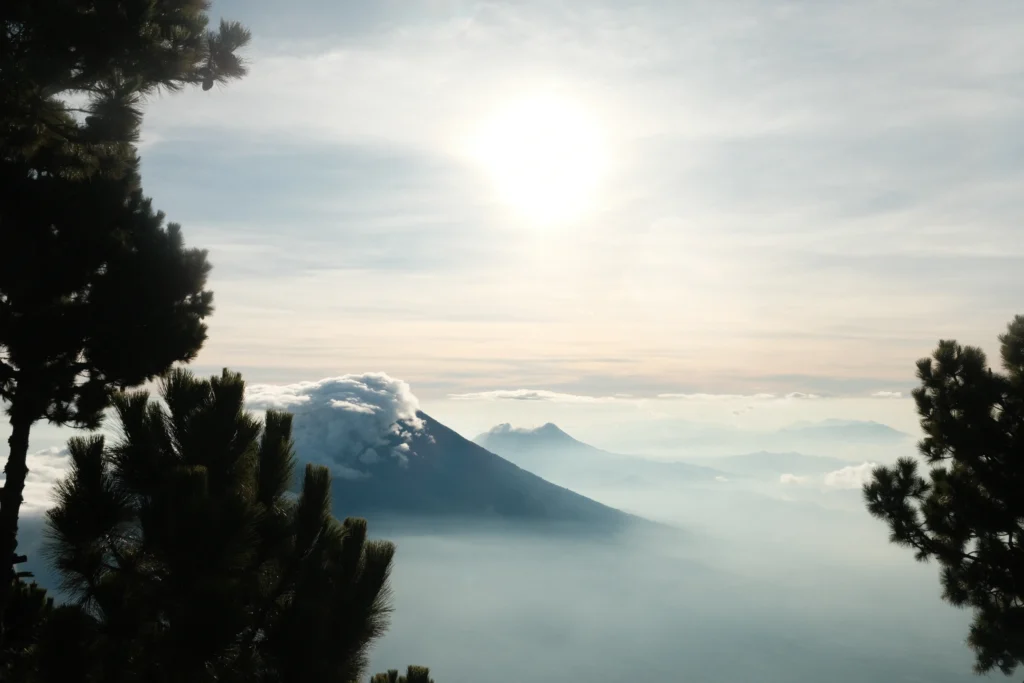
Watching the sunrise from nearly 4,000 metres is truly a once-in-a-lifetime experience. If you’re considering it, I highly recommend opting in for the sunrise summit.
Altitude Sickness 😵💫🌬️
I had never hiked at a high altitude before so the thought of getting altitude sickness gave me the most anxiety. I definitely noticed the thinner air on the way up, but thankfully, I didn’t experience any altitude sickness.
Another hiker in our group wasn’t as lucky. Despite having plenty of high-altitude hiking experience (including Everest Base Camp) he woke up in the middle of the night at camp feeling nauseous and ended up vomiting outside. Even so, he still pushed through and summited with us the next morning.
He believed the rapid ascent on Acatenango may have triggered the symptoms, even with his previous high-altitude hiking experience.
Many hikers on the tour took altitude sickness medication, though I can’t personally say how effective it is. If you’re concerned, it might be worth looking into, but ultimately it often comes down to genetics.
My recommendation is if the altitude affects you more than expected, you can always hire a porter to carry your gear, and worse case scenario you can stay at basecamp if you are not feeling up to summit.
Final Reflections on the Journey 🔁📝
This hike taught me a lot about myself and the limits of both my body and mind. I was genuinely surprised by how weak I felt during the Fuego ascent, and I probably wouldn’t attempt a hike like this again without more intentional training beforehand.
That said, I truly believe anyone can do it with the right mindset, support, and belief in themselves (corny, but true).
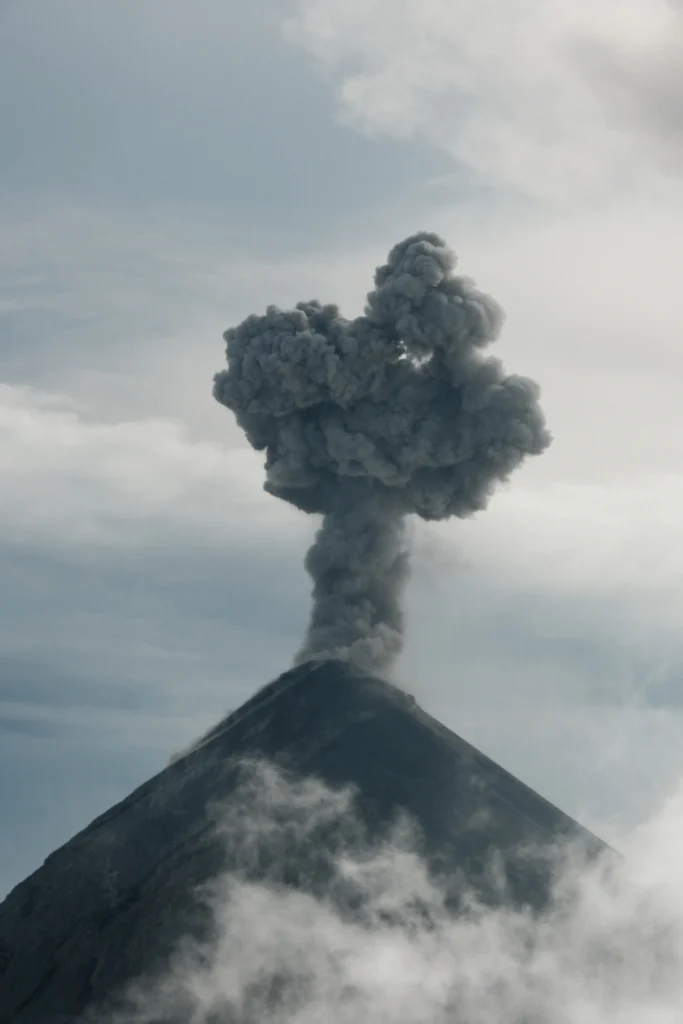
One moment from the hike that I’ll never forget is the first time I heard the volcano rumble after reaching base camp. Feeling the ground shake beneath us, followed by a cathartic boom and then seeing a towering mushroom cloud rise from Fuego was awe-inspiring. This is truly an experience that will stay with me forever.
Rapid Fire FAQs About Acatenango ⚡❓
- Do I need to train for Acatenango? No training is required but you will struggle if you have zero hiking experience.
- How long does the hike take? It is an overnight hike with around 5-6 hours of hiking on day 1 and 3-4 hours of hiking on day 2.
- What’s the best time of year to hike Acatenango? November to April.
- How cold does it get on the hike? It gets to 0°C at night, and is at sub 0°C freezing temperatures at the summit.
- Do I need a guide for the hike? YES, sadly people have died hiking without a guide. (They got lost then froze to death)
- Is it safe to hike Acatenango? It’s the safest it can be for hiking a live volcano…
- How much does the Acatenango hike cost? 550Q ($110 AUD).
- Is this hike good for solo travellers? Yes, I met many solo travellers in my group.
- Do you need to acclimatise first?/How many days should you acclimatise for? No, as Antigua is not high enough to properly acclimatise.
- Do I need proper hiking shoes for the hike? No, but if you have hiking shoes with you, definitely wear them.
- Are there toilets on the hike? There are two toilets, one at the park entrance and one at base camp. Both of them are pretty gross though.
Pingback: Beyond the Summit: What I Found Hiking Australia’s Tallest Peak
Pingback: From Fear to Favourite: How Guatemala Won Me Over